hnlzm@lvmeikapton.com
+86 13787123465


Hunan Lvzhimei New Material Technology Co., Ltd.

NameDescriptionContent
How to Properly Apply Self-Adhesive Polyimide Tape |https://www.lvmeikapton.com/
Source:
|
Author:Koko Chan
|
Published time: 2025-05-23
|
543 Views
|
🔊 Click to read aloud
❚❚
▶
|
Share:
How to Properly Apply Self-Adhesive Polyimide TapeDescription: Step-by-step guide to applying self-adhesive tape for electronics, avoiding common mistakes and ensuring optimal performance.Keywords: Tape application, Self-adhesive polyimide, Electronics installation, Adhesion tips
How to Properly Apply Self-Adhesive Polyimide Tape
https://www.lvmeikapton.com/
Title: How to Properly Apply Self-Adhesive Polyimide TapeDescription: Step-by-step guide to applying self-adhesive tape for electronics, avoiding common mistakes and ensuring optimal performance.Keywords: Tape application, Self-adhesive polyimide, Electronics installation, Adhesion tips
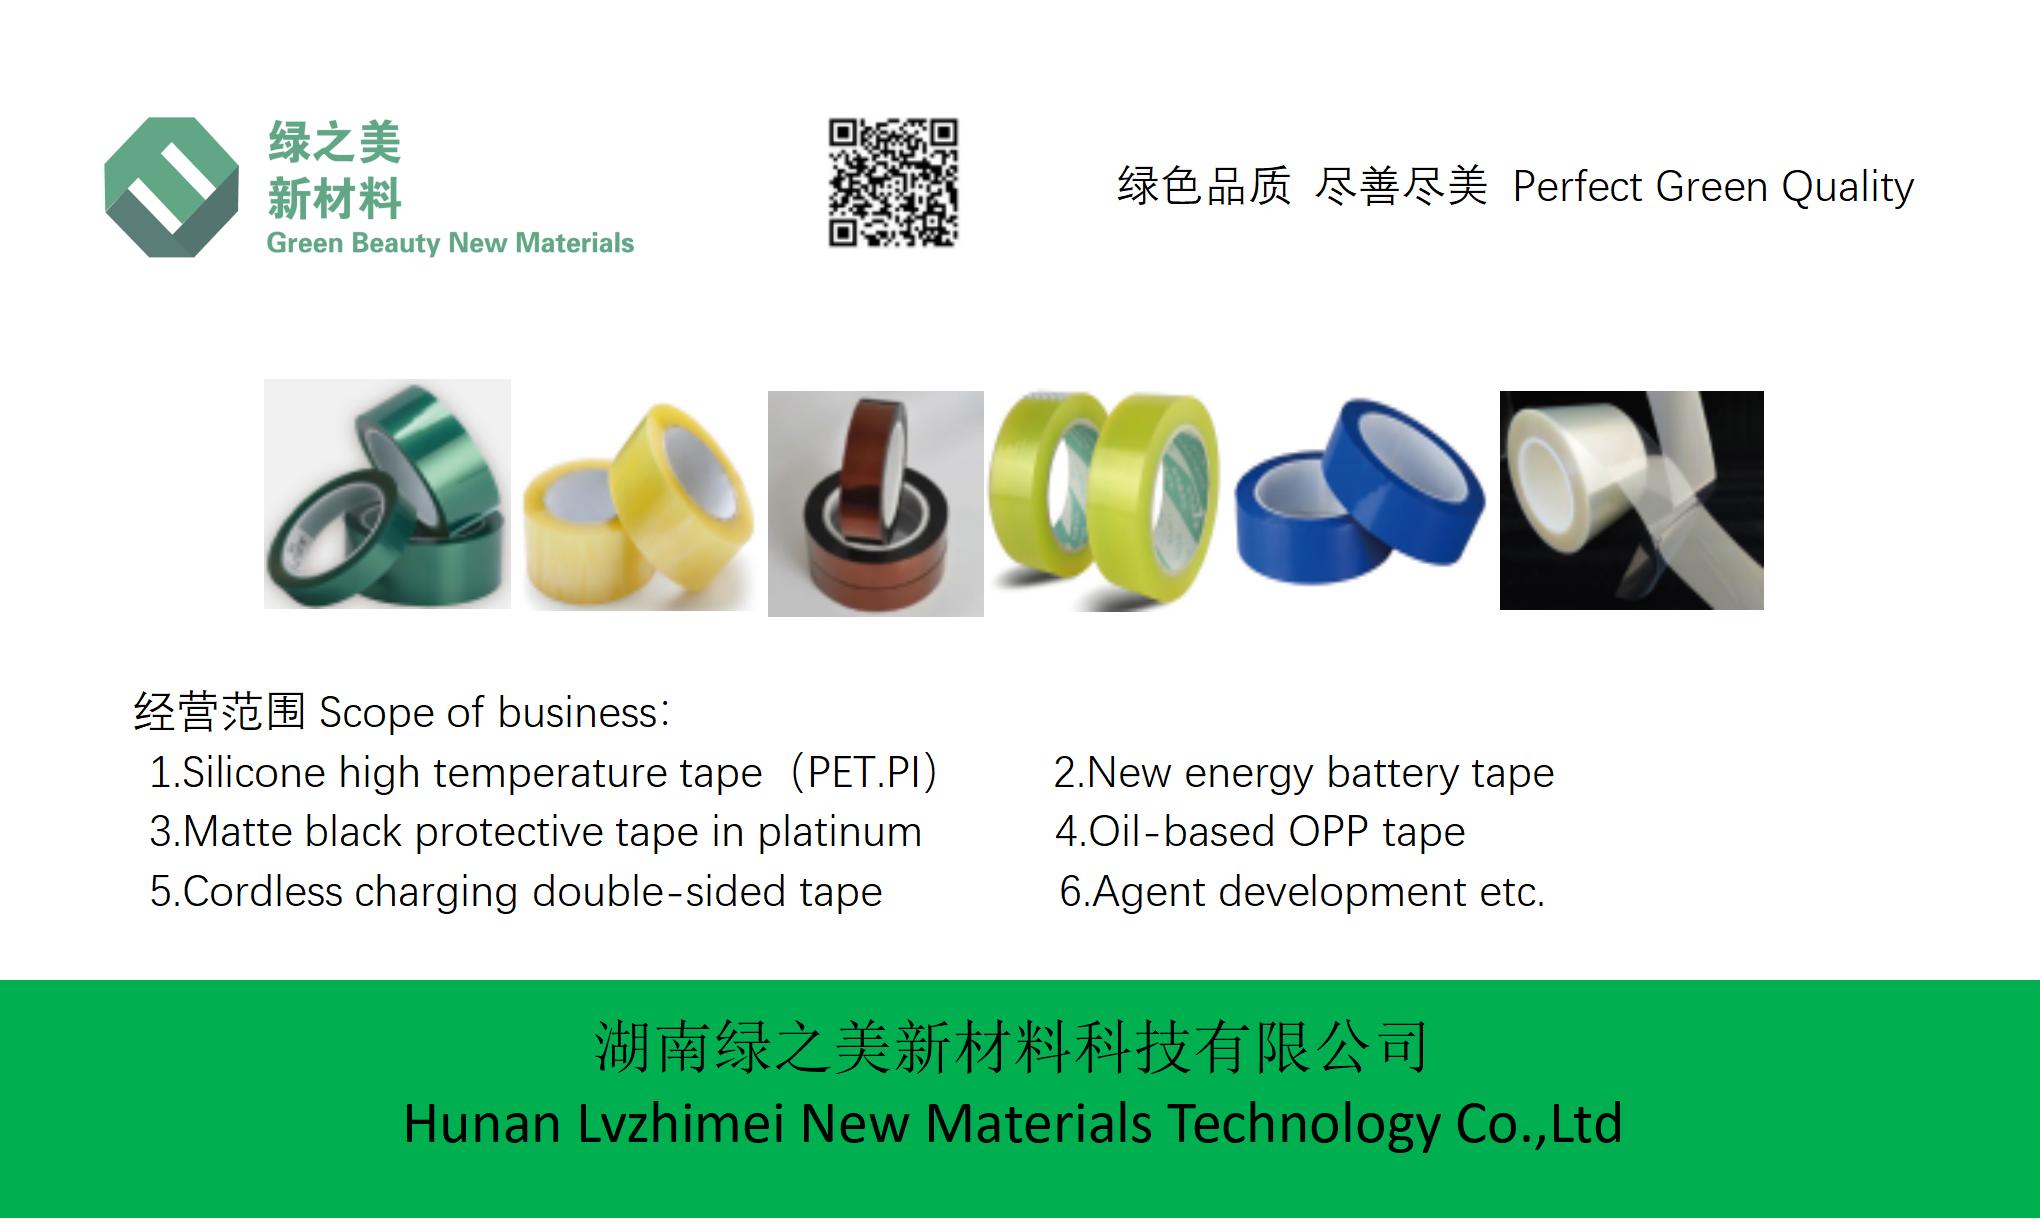
IntroductionSelf-adhesive polyimide tape, commonly known as Kapton tape or high-temperature insulation tape, is a versatile material widely used in electronics, aerospace, automotive, and industrial applications. Its exceptional properties, including耐高温 (up to 300°C), chemical resistance, electrical insulation, and high tensile strength, make it indispensable for protecting components, enhancing durability, and ensuring safety. However, improper application can compromise its performance, leading to failures or inefficiencies. This comprehensive guide outlines step-by-step procedures, common pitfalls to avoid, and best practices to achieve optimal results.
Table of Contents
1.
Understanding Self-Adhesive Polyimide Tape
2.
Preparation Before Application
3.
Step-by-Step Application Process
4.
Special Considerations for Complex Surfaces
5.
Common Mistakes and How to Avoid Them
6.
Post-Application Care and Maintenance
7.
Troubleshooting Tips
8.
Environmental and Safety Considerations
9.
Conclusion
1. Understanding Self-Adhesive Polyimide TapePolyimide tape consists of a polyimide film substrate coated with high-performance silicone pressure-sensitive adhesive (PSA). The tape is available in various thicknesses, adhesive strengths, and specialized variants (e.g., low-static, flame-retardant). Key features include:
●
Temperature Resistance: Capable of enduring prolonged exposure to extreme temperatures (-60°C to +300°C).
●
Electrical Insulation: Provides H-class insulation, crucial for transformers, motors, and PCBs.
●
Chemical Resistance: Resistant to solvents, acids, alkalis, and UV radiation.
●
Adhesion: Strong bond to metals, ceramics, plastics, and glass under proper conditions.
●
Ease of Handling: Clean removal without residue, even after high-temperature exposure.
Table: Technical Specifications of Common Polyimide Tape Models
Model | Substrate | Adhesive Type | Thickness (mm) | Adhesion (N/25mm) | Elongation (%) | Temp. Range (°C) |
YC-2515 | Polyimide Film | Silicone | 0.04 | 4 | 55 | -60 to +260 |
YC-2525 | Polyimide Film | Silicone | 0.05 | 5 | 55 | -60 to +260 |
YC-5030 | Polyimide Film | Silicone | 0.08 | 5.5 | 52 | -60 to +260 |
YC-10050 | Polyimide Film | Silicone | 0.15 | 6.5 | 50 | -60 to +260 |
2. Preparation Before Application2.1 Surface Cleaning
●
Ensure the substrate (e.g., PCB, cable, metal component) is free from dust, oil, grease, or previous adhesive residues.
●
Use isopropyl alcohol or a suitable solvent to wipe the surface.
●
Allow the surface to dry completely before proceeding.2.2 Tape Selection
●
Choose the appropriate tape thickness and adhesive strength based on the application (e.g., thin tapes for delicate components, thicker for mechanical stress).
●
Confirm the tape’s temperature and chemical resistance meet the environment’s requirements.2.3 Tools and Materials
●
Prepare a clean work area, scissors or a tape cutter, a squeegee (for smoothing), and a heat gun (optional for bending).
3. Step-by-Step Application ProcessStep 1: Measure and Cut
●
Accurately measure the required length, allowing 2-3mm overlap for edges.
●
Use sharp tools to avoid frayed edges.Step 2: Positioning
●
Place the tape gently, aligning it parallel to the target area. Avoid stretching the tape.Step 3: Initial Contact
●
Apply light pressure from the center outward to adhere the tape. For curved surfaces, apply heat (80-100°C) to soften the tape for better conformity.Step 4: Full Adhesion
●
Use a squeegee or finger pressure to remove air bubbles and ensure complete contact. Pay extra attention to edges and corners.Step 5: Curing Time
●
Allow the tape to settle for 24-48 hours at room temperature for maximum bond strength. Avoid high temperatures or solvents during curing.Step 6: Inspection
●
Check for wrinkles, gaps, or lifting edges. Immediately reapply if issues are detected.
4. Special Considerations for Complex Surfaces4.1 Curved or Angled Components
●
Preheat the tape with a heat gun (short bursts) to increase flexibility.
●
Gradually apply pressure while molding the tape around curves.4.2 High-Temperature Applications
●
For motor windings or transformer coils, use reinforced tape variants.
●
Apply tape in layers for enhanced insulation (e.g., 2-3 wraps).4.3 Masking for Spray Coatings
●
Ensure tape edges align perfectly to prevent overspray.
●
Use high-adhesion tape to withstand paint curing temperatures.4.4 Electronics Assembly (SMT Protection)
●
Apply tape over PCB gold fingers or sensitive components during wave soldering.
●
Remove tape after cooling to avoid residue.
5. Common Mistakes and How to Avoid ThemMistake 1: Dirty or Moist Surfaces
●
Result: Poor adhesion, peeling over time.
●
Solution: Thoroughly clean and dry surfaces.Mistake 2: Stretching During Application
●
Result: Tape relaxation, wrinkling, reduced insulation.
●
Solution: Handle tape gently, avoid tension.Mistake 3: Incomplete Pressuring
●
Result: Air pockets, electrical shorts.
●
Solution: Use a squeegee to eliminate bubbles.Mistake 4: Applying Tape in Extreme Temperatures
●
Result: Reduced adhesive performance.
●
Solution: Work in 15-30°C environments.Mistake 5: Using Incorrect Tape Type
●
Result: Failure under specific conditions (e.g., flame-retardant needed but not used).
●
Solution: Verify tape specifications match application requirements.
6. Post-Application Care and Maintenance
●
Avoid exposing tape to direct sunlight or prolonged humidity.
●
Periodically inspect for signs of degradation (e.g., discoloration, cracks).
●
Replace tape if early damage is observed.
●
For removable applications, peel slowly at a 45° angle to prevent substrate damage.
●
Store unused tape in a cool, dry place, wrapped in original packaging.
7. Troubleshooting TipsProblem: Tape Peels Off Prematurely
●
Check surface contamination or insufficient curing time.
●
Re-clean and reapply, ensuring full pressure application.Problem: Residue After Removal
●
Confirm tape is genuine (low-residue variants).
●
Use slower peel rates or heat (≤100°C) to ease removal.Problem: Bubbling During Use
●
Re-apply tape, focusing on thorough pressure application.
●
Avoid high-temperature exposures before curing.
8. Environmental and Safety Considerations
●
Polyimide tape is RoHS compliant, halogen-free, and environmentally friendly.
●
Avoid inhaling tape dust during cutting; use a mask if generating significant debris.
●
Dispose of tape waste responsibly (non-hazardous but check local regulations).
●
When using heat guns, ensure proper ventilation and fire safety.
ConclusionProper application of self-adhesive polyimide tape is essential to harness its full potential in electronics, insulation, and protection. By following meticulous preparation, precise techniques, and avoiding common errors, users can achieve long-lasting, reliable results. Whether in industrial settings or DIY projects, understanding tape properties and handling nuances ensures optimal performance, saving costs and preventing failures. As technology advances, polyimide tape will continue to evolve, offering even greater durability and versatility for emerging applications.
Hunan Lvzhimei New Material Technology Co., Ltd.
Quick Links


Product Categories
© 2024 Hunan Lvzhimei New Material Technology Co., Ltd.All Rights Reserved. Designed by Erge
0731 - 89717319
hnlzm@lvmeikapton.com
+86 13787123465
Room 502, Chuangye Building, No186, Guyuan Road, High-Tech District, Changsha, Hunan, China
CONTACT


