hnlzm@lvmeikapton.com
+86 13787123465


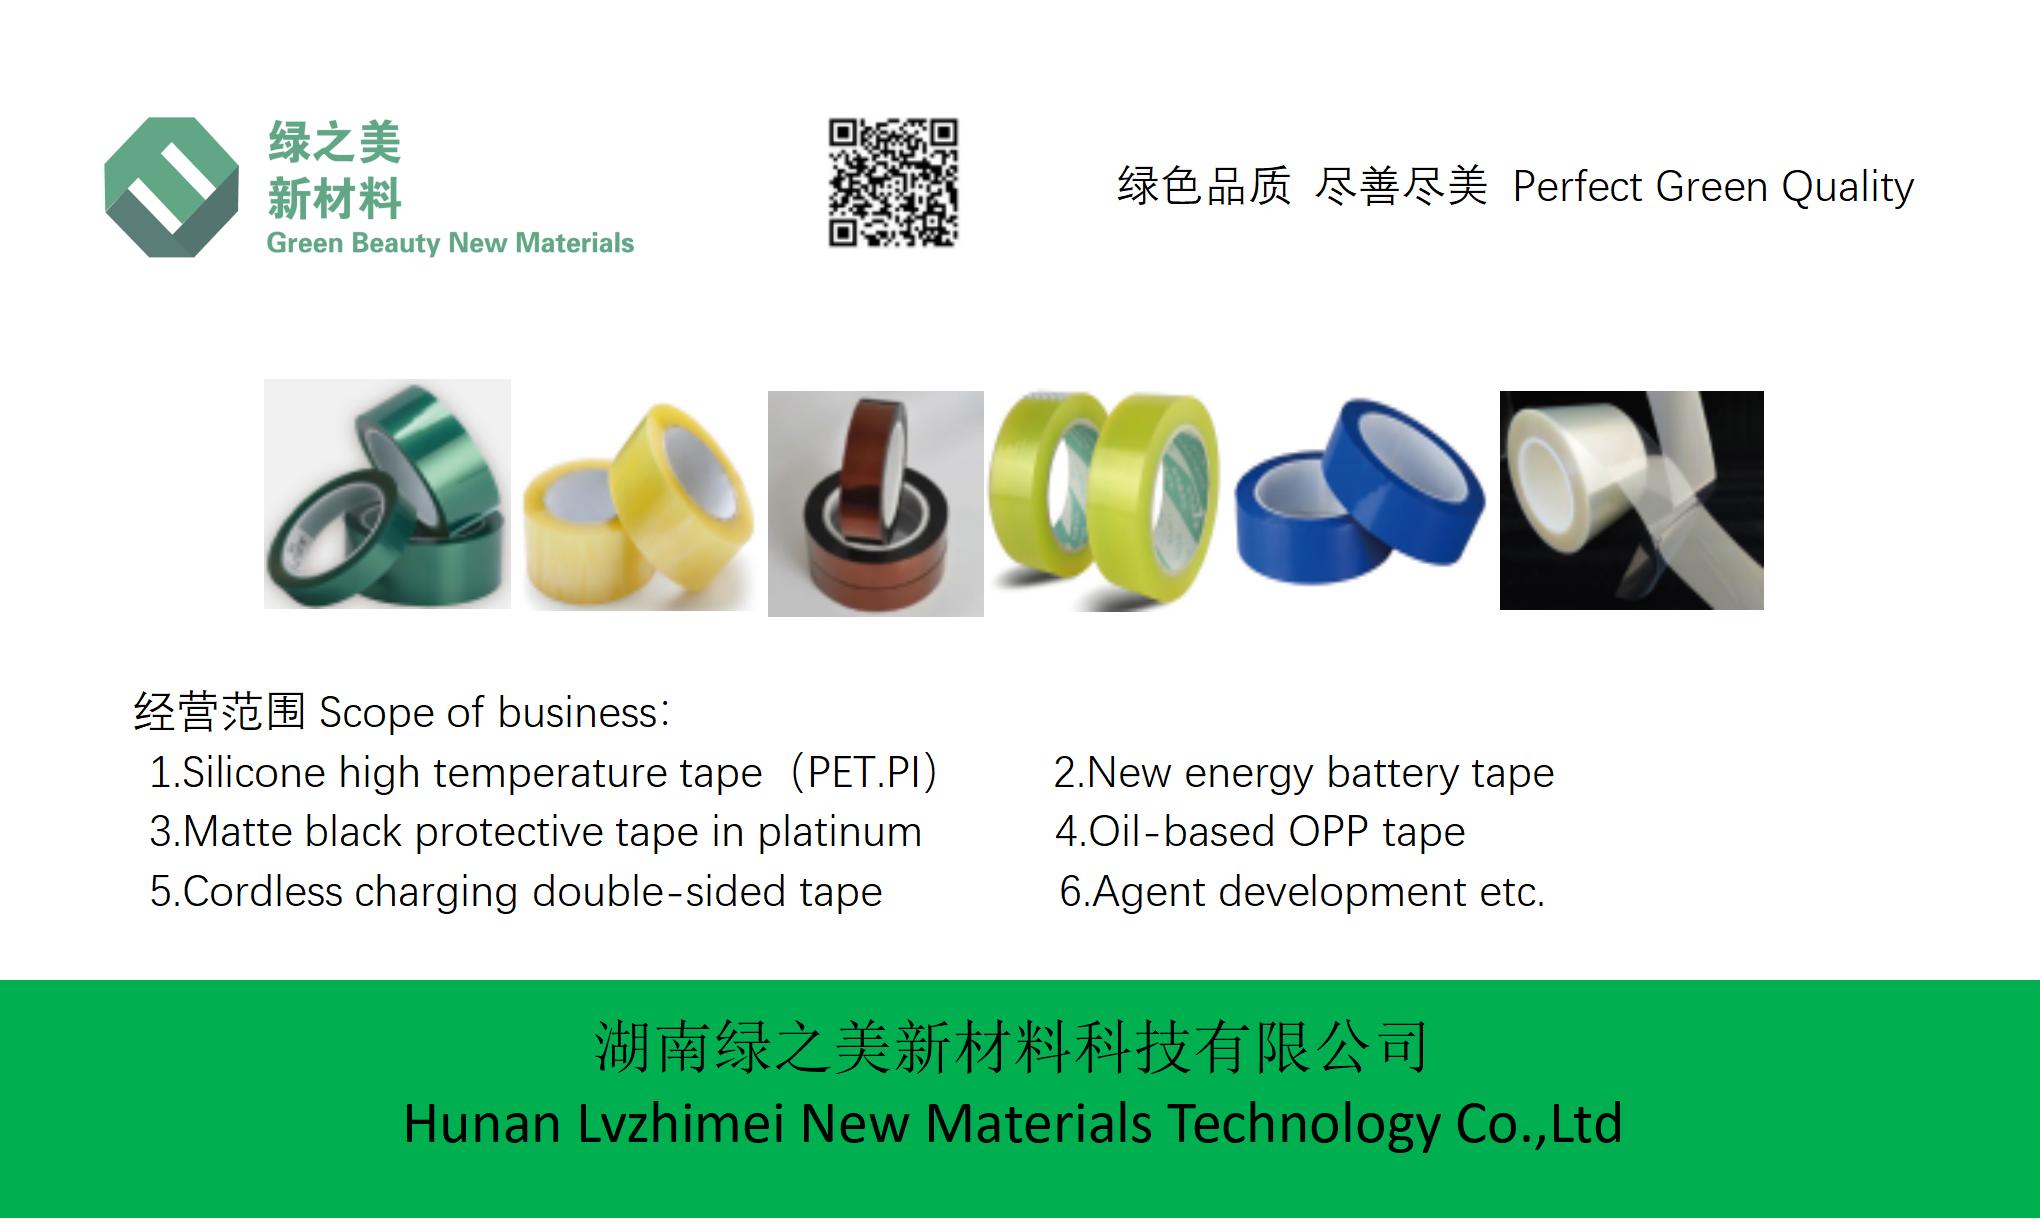
Hunan Lvzhimei New Material Technology Co., Ltd.

NameDescriptionContent
How to Apply Self-Adhesive Tape for Automotive Masking? |https://www.lvmeikapton.com/
Source:
|
Author:Koko Chan
|
Published time: 2025-06-26
|
357 Views
|
🔊 Click to read aloud
❚❚
▶
|
Share:
Self-adhesive back blocking spray paint tape resists 200°C baking and gasoline exposure in auto painting.
How to Apply Self-Adhesive Tape for Automotive Masking
Introduction
Automotive masking is a critical step in the painting process, ensuring precise and clean results. Self-adhesive tape, specifically designed for automotive applications, plays a pivotal role in this process. This type of tape is engineered to resist high temperatures, chemicals, and provide a secure seal during painting operations. In this article, we will delve into the detailed process of applying self-adhesive tape for automotive masking, highlighting its benefits, types, and best practices.
Importance of Self-Adhesive Tape in Automotive Masking
Self-adhesive tape offers several advantages over traditional masking methods:
1.
Temperature Resistance: Capable of withstanding temperatures up to 200°C, making it ideal for baking processes.
2.
Chemical Resistance: Resistant to gasoline and other solvents, ensuring durability during painting.
3.
Ease of Application: Self-adhesive properties allow for quick and easy application, reducing labor time.
4.
Precision: Provides clean, sharp edges, ensuring professional-grade results.
Types of Self-Adhesive Tape for Automotive Masking
There are various types of self-adhesive tapes available, each suited for specific applications:
●
PVC Tape: Durable and resistant to moisture and chemicals.
●
Polyester Tape: High tensile strength and excellent resistance to abrasion.
●
Kapton Tape: Known for its exceptional heat resistance and dimensional stability.
●
Foam Tape: Provides a cushioned seal, ideal for irregular surfaces.
Step-by-Step Guide to Applying Self-Adhesive Tape for Automotive Masking
Applying self-adhesive tape correctly is essential to achieve optimal results. Follow these steps for a flawless application:
Step 1: Surface Preparation
●
Cleaning: Ensure the surface is clean and free from dirt, grease, and debris. Use a suitable cleaner and a microfiber cloth to achieve a pristine surface.
●
Drying: Allow the surface to dry completely before applying the tape. Moisture can affect the adhesive's performance.
Step 2: Selecting the Appropriate Tape
●
Application Requirements: Choose the type of tape based on the specific requirements of the job, such as temperature resistance, durability, and flexibility.
●
Width and Length: Select the appropriate width and length of the tape to cover the required area efficiently.
Step 3: Measuring and Cutting the Tape
●
Accuracy: Measure the area to be masked accurately to avoid waste and ensure proper coverage.
●
Cutting: Use sharp scissors or a tape cutter to achieve clean, straight edges. This will prevent tape lifting during the painting process.
Step 4: Applying the Tape
●
Start Point: Begin applying the tape at one end of the area to be masked, ensuring the tape is aligned correctly.
●
Smooth Application: Use a squeegee or your fingers to smooth the tape down, working from the center outward. This will remove any air bubbles and ensure a secure bond.
●
Overlap: For better coverage, overlap the edges of the tape slightly. Ensure the overlap is consistent to avoid uneven coverage.
Step 5: Checking for Imperfections
●
Inspection: Carefully inspect the taped area for any gaps, wrinkles, or air bubbles. These can lead to paint seepage and uneven results.
●
Adjustments: Make any necessary adjustments by removing and reapplying the tape as needed.
Step 6: Baking and Painting
●
Baking: If the application requires baking, ensure the tape is rated for the specified temperature. Follow the manufacturer's guidelines for baking time and temperature.
●
Painting: Once the surface is ready, proceed with the painting process. Ensure the paint is applied evenly and according to the specified thickness.
Step 7: Removing the Tape
●
Timing: Remove the tape while the paint is still slightly tacky. This will prevent the tape from pulling up the paint.
●
Careful Removal: Gently peel the tape back at a 45-degree angle to avoid damaging the painted surface. Take your time to ensure a clean removal.
Tips and Tricks for Optimal Results
●
Store Tape Properly: Keep the tape in a cool, dry place to maintain its adhesive properties.
●
Use a Tape Guide: For straight lines, use a tape guide or ruler to ensure precise application.
●
Test on a Small Area: Before applying tape to the entire vehicle, test it on a small, inconspicuous area to check for compatibility and performance.
●
Avoid Overlapping Too Much: Excessive overlap can lead to tape lifting and uneven coverage. Keep overlaps minimal and consistent.
Common Mistakes to Avoid
●
Improper Surface Preparation: A dirty or moist surface can compromise the tape's adhesive properties, leading to poor results.
●
Rushing the Application: Taking shortcuts during the application process can result in air bubbles, wrinkles, and uneven coverage.
●
Using the Wrong Tape: Selecting the incorrect type of tape for the specific application can lead to tape failure during baking or painting.
●
Removing Tape Too Late: Waiting too long to remove the tape can cause it to pull up the paint, resulting in a messy finish.
Comparison Table: Types of Self-Adhesive Tape for Automotive Masking
The following table compares the key features of different types of self-adhesive tape commonly used in automotive masking:
Tape Type | Temperature Resistance | Chemical Resistance | Durability | Flexibility | Best Use |
PVC | Up to 150°C | High | Moderate | Low | General masking |
Polyester | Up to 180°C | Excellent | High | Moderate | High-stress areas |
Kapton | Up to 200°C | Superior | Very High | High | Heat-sensitive applications |
Foam | Up to 120°C | Moderate | Low | High | Irregular surfaces |
Safety Precautions
When working with self-adhesive tape and automotive paints, it is essential to follow safety guidelines:
●
Ventilation: Ensure the work area is well-ventilated to avoid inhaling harmful fumes.
●
Protective Gear: Wear appropriate protective gear, including gloves, masks, and goggles.
●
Handling Chemicals: Follow the manufacturer's instructions when handling paints and solvents. Avoid direct contact with skin.
●
Disposal: Dispose of used tape and other materials according to local environmental regulations.
Conclusion
Applying self-adhesive tape for automotive masking is a skill that requires attention to detail and adherence to best practices. By following the steps outlined in this guide, automotive professionals and enthusiasts alike can achieve precise, professional-grade results. The choice of tape, proper surface preparation, and careful application are key factors in ensuring a successful masking process. With the right techniques and tools, self-adhesive tape becomes an indispensable asset in the automotive painting workflow.
Hunan Lvzhimei New Material Technology Co., Ltd.
Quick Links


Product Categories
© 2024 Hunan Lvzhimei New Material Technology Co., Ltd.All Rights Reserved. Designed by Erge
0731 - 89717319
hnlzm@lvmeikapton.com
+86 13787123465
Room 502, Chuangye Building, No186, Guyuan Road, High-Tech District, Changsha, Hunan, China
CONTACT


