hnlzm@lvmeikapton.com
+86 13787123465


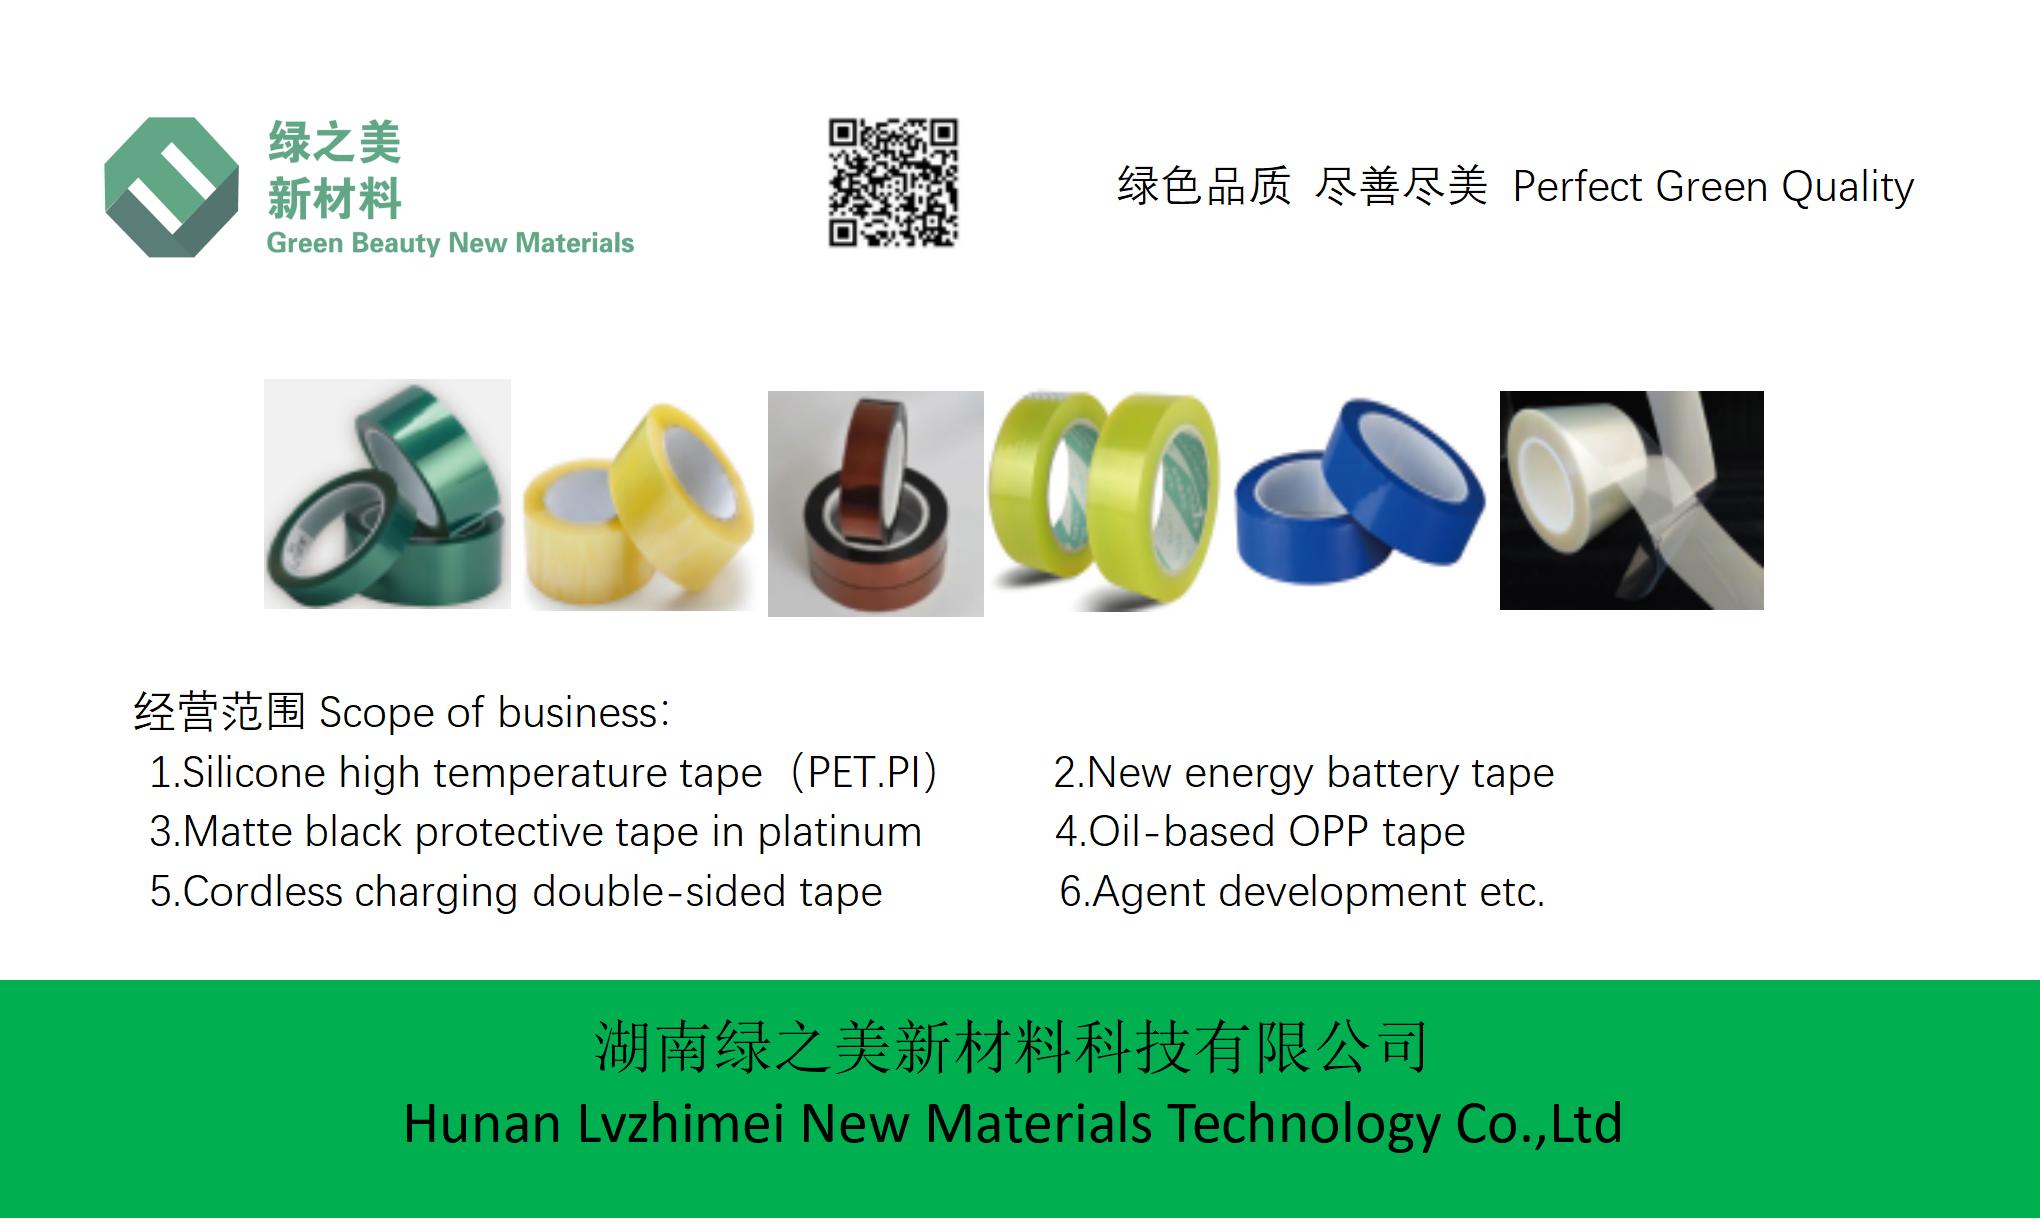
Hunan Lvzhimei New Material Technology Co., Ltd.

NameDescriptionContent
How to Maximize the Efficiency of Kapton Tape in Electronics Repair? |https://www.lvmeikapton.com/
Source:
|
Author:Koko Chan
|
Published time: 2025-06-25
|
715 Views
|
🔊 Click to read aloud
❚❚
▶
|
Share:
In the intricate world of electronics repair, precision and reliability are paramount. Kapton tape, a high-performance polyimide film, stands out as an indispensable tool for technicians and hobbyists alike. Renowned for its exceptional thermal stability, electrical insulation, and mechanical strength, Kapton tape ensures durability and protection in various repair scenarios. This comprehensive guide delves into the nuances of optimizing Kapton tape usage, covering everything from selection criteria to application techniques and troubleshooting common issues. By following the strategies outlined in this article, readers will gain the knowledge needed to maximize the efficiency of Kapton tape in their electronics repair projects.
How to Maximize the Efficiency of Kapton Tape in Electronics Repair?
Introduction
In the intricate world of electronics repair, precision and reliability are paramount. Kapton tape, a high-performance polyimide film, stands out as an indispensable tool for technicians and hobbyists alike. Renowned for its exceptional thermal stability, electrical insulation, and mechanical strength, Kapton tape ensures durability and protection in various repair scenarios. This comprehensive guide delves into the nuances of optimizing Kapton tape usage, covering everything from selection criteria to application techniques and troubleshooting common issues. By following the strategies outlined in this article, readers will gain the knowledge needed to maximize the efficiency of Kapton tape in their electronics repair projects.
Understanding Kapton Tape
Kapton tape, also known as polyimide tape, is a specialized adhesive tape made from polyimide film. Its unique properties make it ideal for applications that require high-temperature resistance, excellent electrical insulation, and durability. The tape is available in various thicknesses, widths, and adhesive strengths, each suited to specific repair needs. Understanding these characteristics is crucial for selecting the right type of Kapton tape for a given application.
Types of Kapton Tape
1.
PI Material High Temperature Resistant 300 Tape: Designed to withstand temperatures up to 300°C, this type of Kapton tape is perfect for applications involving high heat, such as soldering and reflow processes. Its robust adhesive ensures secure bonding even in extreme conditions.
2.
Self-Adhesive Back Blocking Spray Paint Tape: This variant features a specialized adhesive that blocks spray paint effectively, making it ideal for masking components during re-coating processes. Its easy removal properties prevent damage to sensitive electronics.
3.
Brown Circuit Board High Temperature Tape: Specifically formulated for circuit board applications, this tape offers excellent thermal resistance and electrical insulation. Its brown color provides visual contrast, enhancing traceability during complex repairs.
Selecting the Appropriate Kapton Tape
The first step in maximizing the efficiency of Kapton tape is choosing the right type for the job. Consider the following factors when making your selection:
Application Requirements
●
Temperature Resistance: Determine the maximum temperature the tape will be exposed to during the repair process. Choose a tape rated for the appropriate temperature range to ensure longevity and performance.
●
Electrical Insulation: For applications involving electrical components, select a tape with high dielectric strength to prevent short circuits and ensure reliable insulation.
●
Mechanical Strength: Evaluate the mechanical stress the tape will endure. Opt for tapes with higher tensile strength for applications requiring durability and resistance to tearing.
Thickness Considerations
●
0.05mm for Delicate Gold Fingers: This ultra-thin tape is ideal for protecting delicate components like gold fingers, providing precise coverage without adding unnecessary bulk.
●
0.1mm for General Purpose Use: A slightly thicker option suitable for a wide range of applications, offering a balance between flexibility and durability.
●
0.2mm for Heavy-Duty Applications: For scenarios requiring robust protection, such as cable wrapping or strain relief, a thicker tape provides enhanced mechanical strength.
Application Techniques for Optimal Performance
Proper application of Kapton tape is essential for achieving maximum efficiency. Follow these step-by-step techniques to ensure optimal results:
Preparation
1.
Clean the Surface: Ensure the area to be taped is clean and free of debris. Use isopropyl alcohol to remove any oils or contaminants that may affect adhesion.
2.
Measure and Cut: Accurately measure the required length of tape and cut it to size using sharp scissors or a precision knife. Avoid jagged edges to prevent tape lifting.
Application Process
1.
PI Material High Temperature Resistant 300 Tape
○
Step 1: Position the tape over the designated area, ensuring it covers the entire surface evenly.
○
Step 2: Smooth the tape from the center outward, applying gentle pressure to eliminate air bubbles and ensure full adhesion.
○
Step 3: For applications involving heat exposure, allow the tape to adhere for a few minutes before subjecting it to high temperatures.
2.
Self-Adhesive Back Blocking Spray Paint Tape
○
Step 1: Carefully align the tape over the components to be masked, ensuring complete coverage.
○
Step 2: Press the tape firmly onto the surface, taking care not to stretch or distort it.
○
Step 3: After painting, gently peel off the tape at a 45-degree angle to avoid damaging the underlying components.
3.
Brown Circuit Board High Temperature Tape
○
Step 1: Wrap the tape around the circuit board components, maintaining consistent tension to prevent wrinkles or gaps.
○
Step 2: Use a smoothing tool to ensure the tape adheres evenly, particularly around corners and edges.
○
Step 3: For multi-layer applications, overlap the tape slightly to ensure complete coverage and protection.
Tips for Preventing Thermal Stress
Thermal stress can significantly impact the performance and longevity of Kapton tape. Implement the following tips to mitigate thermal stress:
●
Gradual Temperature Exposure: Avoid sudden temperature changes by gradually heating the taped area. This allows the tape to adjust and reduces the risk of delamination.
●
Use of Thermal Buffering Materials: In applications involving extreme temperatures, consider using thermal buffering materials beneath the tape to distribute heat evenly.
●
Proper Tape Thickness: Selecting the appropriate thickness for the application helps distribute thermal stress, preventing localized damage.
Troubleshooting Common Issues
Despite careful selection and application, issues may arise during the use of Kapton tape. Here are some common problems and their solutions:
Adhesion Problems
●
Issue: Tape not adhering properly to the surface.
●
Solution: Ensure the surface is clean and dry. If the adhesive is weak, consider using a compatible adhesive promoter to enhance bonding.
Delamination
●
Issue: Tape lifting or peeling from the surface.
●
Solution: Check for contaminants or improper application techniques. Reapply the tape, ensuring it is smoothed out and fully adhered.
Wrinkling
●
Issue: Wrinkles or creases in the tape application.
●
Solution: Use a smoothing tool during application to remove air bubbles and ensure even coverage. If wrinkles occur, carefully remove and reapply the tape.
Thermal Degradation
●
Issue: Tape showing signs of degradation after heat exposure.
●
Solution: Verify that the tape is rated for the temperatures encountered. If necessary, switch to a higher-temperature resistant variant.
Advanced Techniques for Complex Repairs
For more advanced electronics repair projects, the following techniques can enhance the efficiency of Kapton tape:
Layering Techniques
●
Multi-Layer Protection: For components requiring additional protection, apply multiple layers of tape, ensuring each layer is properly adhered and overlapping slightly.
●
Combining Tape Types: Use different types of Kapton tape in combination to achieve specific performance requirements, such as combining high-temperature resistance with electrical insulation.
Custom Cutting and Shaping
●
Precision Cutting: Utilize precision cutting tools to create custom shapes and sizes of tape, ensuring a perfect fit for intricate components.
●
Die-Cutting Services: For large-scale or repetitive applications, consider using die-cutting services to produce pre-cut tape pieces for consistent results.
Case Studies: Real-World Applications
To illustrate the practical application of the techniques discussed, consider the following case studies:
Case Study 1: Protecting Gold Fingers on a Motherboard
A technician repairing a high-end motherboard needed to protect the delicate gold fingers during a reflow process. By selecting 0.05mm PI material high-temperature resistant tape and applying it carefully, the technician ensured the gold fingers remained undamaged, resulting in a successful repair.
Case Study 2: Masking Components During Circuit Board Re-Coating
In a project involving the re-coating of a circuit board, the use of self-adhesive back blocking spray paint tape allowed for precise masking of sensitive components. The tape's easy removal properties prevented any damage, ensuring the board's functionality was maintained.
Conclusion
Maximizing the efficiency of Kapton tape in electronics repair requires a combination of knowledge, skill, and attention to detail. By understanding the various types of Kapton tape, selecting the appropriate thicknesses, and applying proven techniques, technicians can achieve optimal results in their repair projects. Whether protecting delicate components from thermal stress or masking areas during re-coating, Kapton tape serves as a versatile and reliable solution. Embrace the strategies outlined in this guide to enhance your electronics repair capabilities and ensure the longevity and performance of your repaired devices.
References
●
LVMEI Kapton: https://www.lvmeikapton.com/
●
ASTM International: Standards for polyimide films and tapes.
●
IPC Association: Guidelines for electronics assembly and repair.
Appendix: Comparison Table of Kapton Tape Types
Tape Type | Temperature Resistance | Electrical Insulation | Mechanical Strength | Common Applications |
PI Material High Temperature 300 Tape | Up to 300°C | High | High | Soldering, reflow processes |
Self-Adhesive Back Blocking Spray Tape | Up to 200°C | Moderate | Moderate | Masking during re-coating, spray painting |
Brown Circuit Board High Temperature Tape | Up to 260°C | High | High | Circuit board protection, cable wrapping |
Hunan Lvzhimei New Material Technology Co., Ltd.
Quick Links


Product Categories
© 2024 Hunan Lvzhimei New Material Technology Co., Ltd.All Rights Reserved. Designed by Erge
0731 - 89717319
hnlzm@lvmeikapton.com
+86 13787123465
Room 502, Chuangye Building, No186, Guyuan Road, High-Tech District, Changsha, Hunan, China
CONTACT


